On December 15th 2015 Microsoft released the Cumulative Update 11 (CU11) for Exchange Server 2013. In the upcoming blog post series I will describe the steps for a Greenfield installation of Exchange 2013 CU11 on Microsoft Windows Server 2012R2. In total this blog post series will consist of four parts.
Regarding to this subject several download links can be find below:
Download Microsoft Exchange Server 2013 CU11:
https://www.microsoft.com/en-us/download/details.aspx?id=50366
Issues that the cumulative update fixes:
https://support.microsoft.com/en-us/kb/3099522
Exchange 2013 system requirements:
https://technet.microsoft.com/library/aa996719(v=exchg.150).aspx
Note: As this update is Cumulative it is not required to install the previous CU’s.
In the current blog post, Part 1 of the blog post series, I will describe a Greenfield scenario. Therefore I will start with a clean Windows Server 2012R2. First I will describe the installation of the required pre-requisites followed by the Exchange 2013CU11 installation.
Different pre-requisites are defined for Microsoft Exchange Server 2013 CU11, which include the following:
- Extract Exchange2013_CU11
- Install .Net Framework 3.5
- Unified Communications Managed API 4.0
- Install the Active Directory Management Tools
- Check if the account is a member of the proper Active Directory groups
- Prepare AD schema
- Prepare Domain
- Installation of Windows Features
Also make sure that the server is member of the domain and it has a static IP address.
Step 1: Extract Exchange2013_CU11
First download Exchange 2013CU11 here. If the download goes well you will see the following file, Exchange2013-x64-cu11.exe. Extract this file in a directory on your hard drive. In my case “C:\Install\Exchange2013_CU11” (Figure 1).
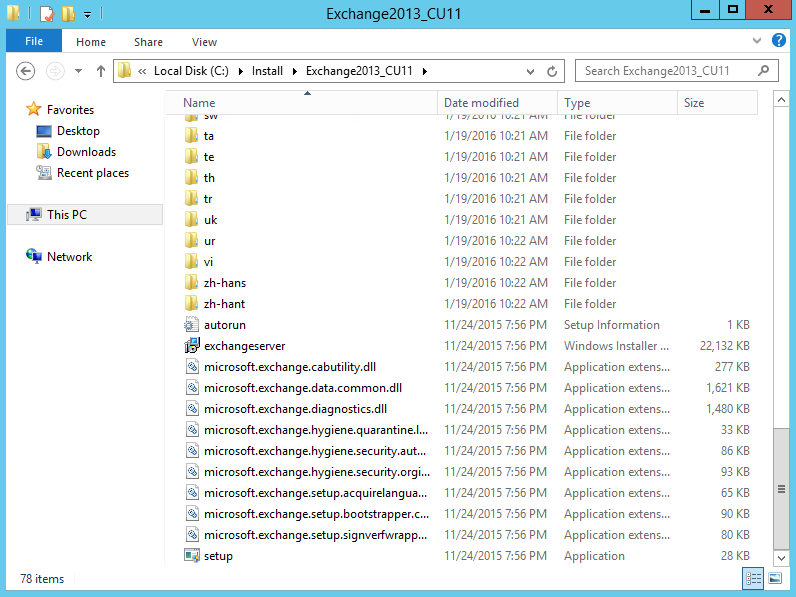
Figure 1. Extracted files Exchange 2013CU11.
Step 2: Install .Net Framework 3.5 and 4.5
After the extracting of Exchange 2013CU11, it is time to install .Net Framework 3.5. Make sure the WinSxS folder is accessible since the correct source files are required for the installation.
Next, start an elevated command prompt and run the following command (Figure 2):
dism /online /enable-feature /featurename:NetFX3 /all /Source:C:\Windows\WinSxS
 Figure 2. Installing .Net Framework 3.5 in an elevated command prompt.
Step 3: Unified Communications Managed API 4.0
Download the Unified Communications Managed API 4.0 Runtime from the Microsoft Download Center: https://www.microsoft.com/en-us/download/details.aspx?id=34992
After downloading, launch the install and follow the instructions on the screens.
Step 4: Install the Active Directory Management Tools
Now it is time to install the Active Directory Management Tools. This can also be done within the Server Manager. For convenience, I choose to install this with PowerShell. Open PowerShell as an administrator and run the following command: Install-WindowsFeature RSAT-ADDS
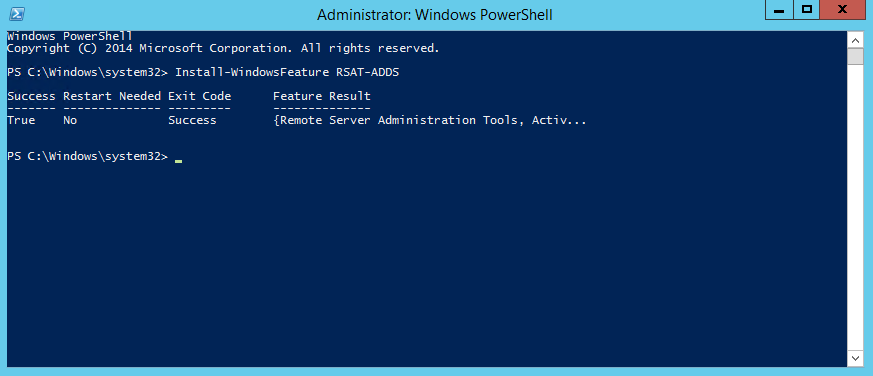 Figure 3. Installing Remote Server Administration Tools with PowerShell.
Step 5: Check if the account is a member of the proper Active Directory groups
Make sure that the account that is used is a member of the following AD groups:
- Schema Admins
- Enterprise Admins
- Domain Admins
Step 6: Prepare Schema
The Prepare Schema command below connects to the Schema Master and extends the Schema with Microsoft Exchange 2013 specific attributes. For more information see: http://technet.microsoft.com/en-us/library/bb125224(v=exchg.150).aspx Make sure to run this command from the directory were the installation files of Exchange2013-x64-cu11 are located as shown in Figure 5. Start the command prompt with elevated rights and run the following command: Setup /PrepareSchema /IAcceptExchangeServerLicenseTerms
 Figure 4. Output from the prepare schema command.
Step 7: Prepare Active Directory
The command displayed in figure 5, prepares the Active Directory (Forest). For more information see http://technet.microsoft.com/en-us/library/bb125224(v=exchg.150).aspx Run the this command from an elevated command prompt: Setup /PrepareAD /OrganizationName:S……e /IAcceptExchangeServerLicenseTerms
Note: In this scenario I install a new Exchange 2013 environment. Therefore it is required to list an organization name. If one is preparing Active Directory in an existing organization this step can be skipped, because the organization name is already known.
 Figure 5. Output from the prepare AD command.
Step 8: Installation of Windows Features
The command displayed in figure 6 will install all the necessary Windows features required for Exchange such as HTTP-Activation, Desktop Experience, .Net Framework 4.5. Etc. It is recommended to execute the command in this stage because the server needs a reboot after installing the Windows features to successfully finish the installation process.
Run the following command as an administrator in PowerShell:
Install-WindowsFeature AS-HTTP-Activation, Desktop-Experience, NET-Framework-45-Features, RPC-over-HTTP-proxy, RSAT-Clustering, RSAT-Clustering-CmdInterface, RSAT-Clustering-Mgmt, RSAT-Clustering-PowerShell, Web-Mgmt-Console, WAS-Process-Model, Web-Asp-Net45, Web-Basic-Auth, Web-Client-Auth, Web-Digest-Auth, Web-Dir-Browsing, Web-Dyn-Compression, Web-Http-Errors, Web-Http-Logging, Web-Http-Redirect, Web-Http-Tracing, Web-ISAPI-Ext, Web-ISAPI-Filter, Web-Lgcy-Mgmt-Console, Web-Metabase, Web-Mgmt-Console, Web-Mgmt-Service, Web-Net-Ext45, Web-Request-Monitor, Web-Server, Web-Stat-Compression, Web-Static-Content, Web-Windows-Auth, Web-WMI, Windows-Identity-Foundation
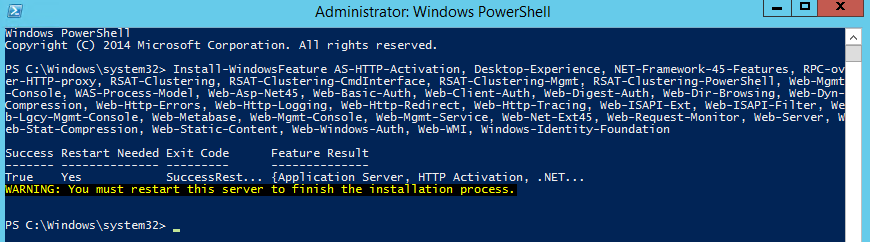 Figure 6. Output from the install Windows features command in PowerShell.
Exchange 2013 CU11 installation
Now that we prepared Active Directory and installed all the other required components it’s time to launch the Exchange 2013CU11 installation itself. To start the setup, go to the directory were the extracted files from step 1 are located. In my case “C:\Install\Exchange2013_CU11” run the “Setup.exe” as an Administrator.
Just to be sure you run the most recent version, you can select the option to connect to the internet and check for updates. Hit Next. See figure 7.
 Figure 7. Check for updates prior to the setup.
In my case no updates were found so hit next.
 Figure 8. Check for updates prior to the setup.
Wait for the initializing setup to complete.
 Figure 9. Initializing setup.
Select next on the introduction page.
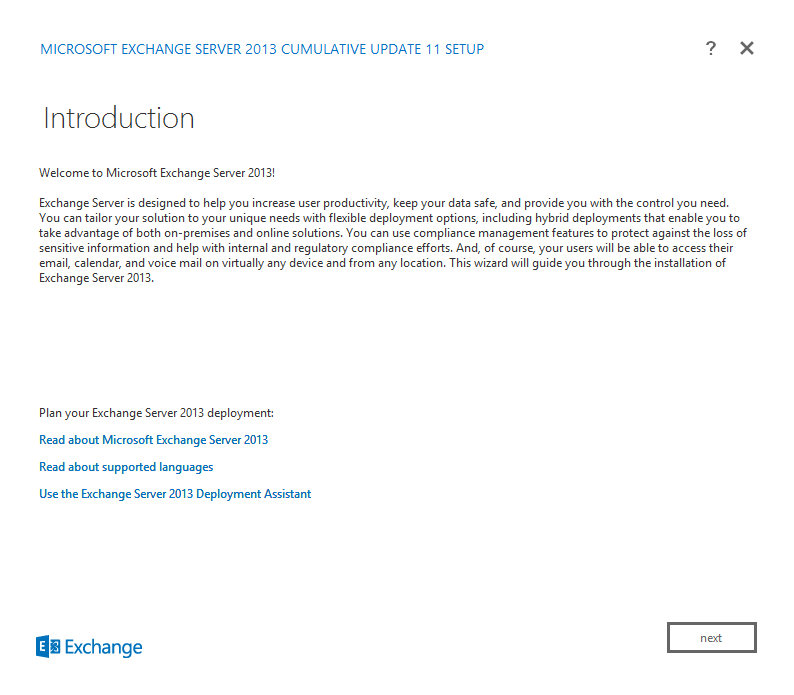 Figure 10. Introduction screen of the Microsoft Exchange Server 2013.
Read carefully the license agreement, or not. Anyway select “I accept the terms in the license agreement” and click next.
 Figure 11. License Agreement terms.
In this scenario I used the recommended settings, select this one and hit next.
 Figure 12. Recommended settings screen.
On this screen the setup want to know which Exchange roles have to be installed on the server. In my case I select both the Mailbox and Client Access role to be installed. If you want it is possible to separate these roles on different servers.
Last but not least check also the “Automatically install Windows Server Roles and features that are required to install Exchange Server”. Hit next.
 Figure 13. Server Role Selection screen.
Select the installation folder for Exchange 2013CU11.
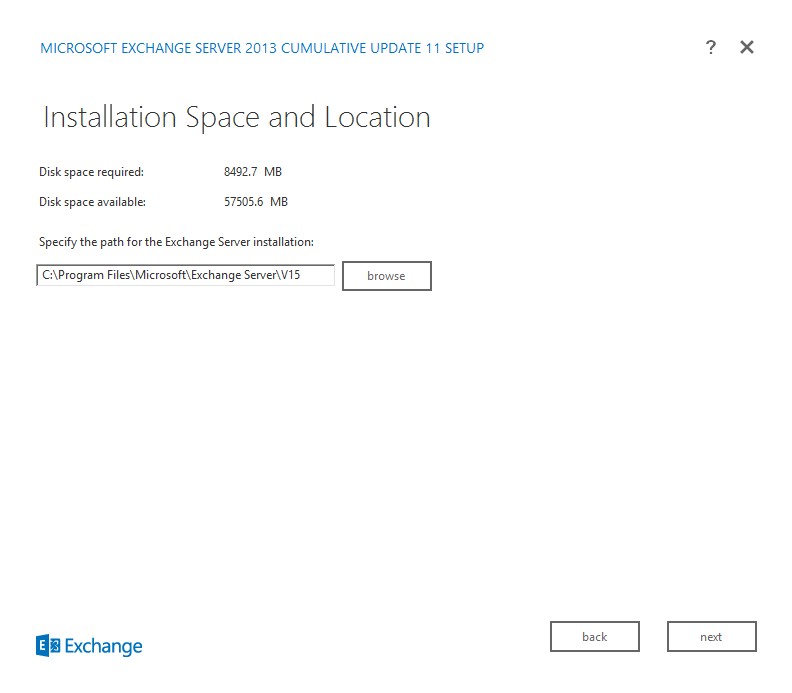 Figure 14. Installation location screen.
In this step in the wizard you must specify the name for the Exchange organization. It is required to provide a name as it is a new installation. If you want to use apply Active Directory split permissions make sure you select the checkbox.
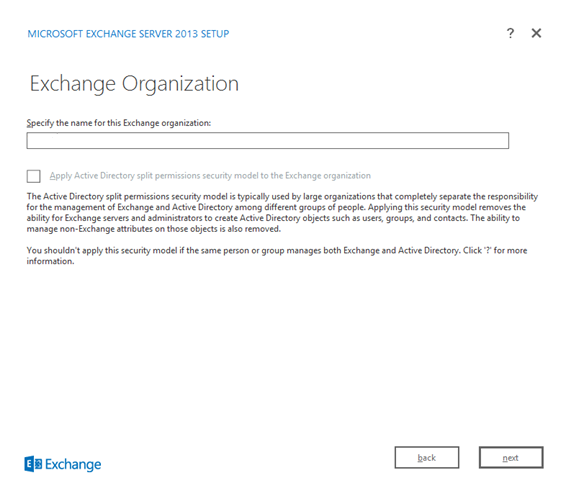
Figure 15. Exchange Organization name screen.
Default Malware Protection is on. If you don’t want to use this check Disable malware scanning Yes. In my case I do want to use malware scanning. Hit next.
 Figure 16. Select the use of malware scanning.
The setup will execute some final checks and if you see no warnings appear hit install to start the installation.
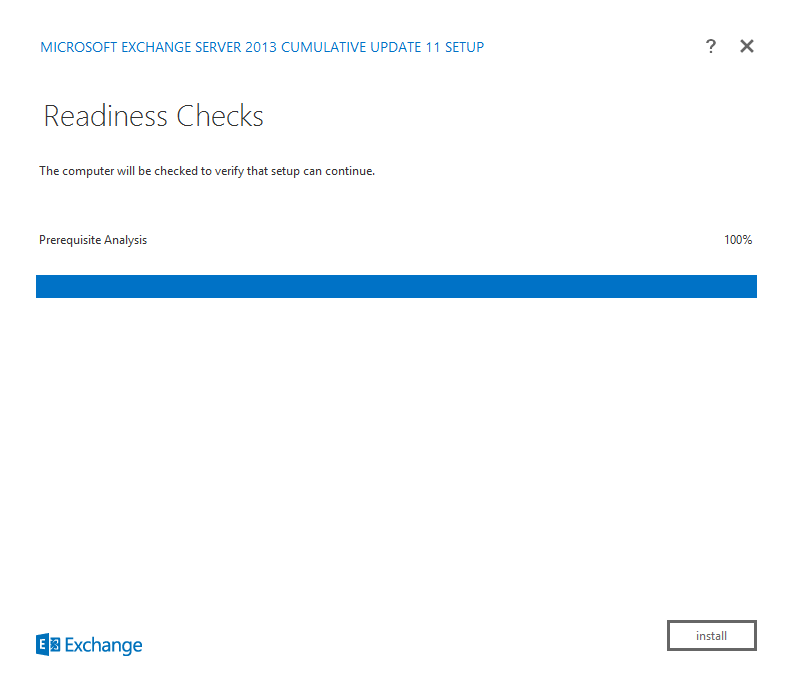 Figure 17. Readiness Checks.
When the Setup has finished, reboot the server to complete the installation of Exchange 2013CU11. Hit finish to close the wizard.
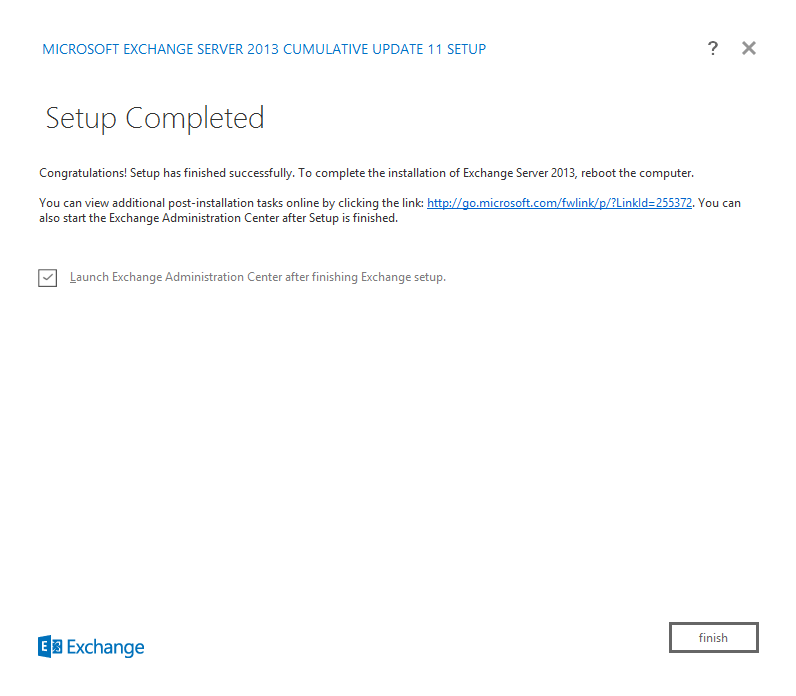 Figure 18. Installation location screen.
After the reboot you can connect to the Exchange Admin Center with the following URL:
To connect to the Outlook Web App use this URL:
Now you can configure the Exchange server to your own needs. In part 2 I will describe how to install and configure Exchange certificates.
Good luck!
