Last week I was working for one of our clients. Although they have been using Operations Manager (OpsMgr) 2012 R2 for some time, they have not made use of OpsMgr SQL Reporting Services (SRS) yet. My job was to install and configure both SRS and OpsMgr Reporting. In this post I will describe the installation and configuration of SRS in an existing SQL environment as well as for OpsMgr 2012R2.
If one is going to install OpsMgr Reporting in an existing SRS environment beware of the fact that the OpsMgr Reporting installation overwrites the existing Reporting Databases.
Installing SQL Reporting Services
First install reporting services by adding this feature to the SQL installation. This can be done as follows:
- Open Control Panel -> Programs -> Programs and Features. Select the SQL installation, in my case Microsoft SQL Server 2008 R2 (x64).
- Click on Uninstall/Change -> Add and select the SQL installation media.
- Install the support Files and click install.
- Next select Add Features to an existing instance of SQL Server 2008 R2.
- In the Select Feature installation check Reporting Services.
- Verify the disk space and click next.
- Click next in the Error Reporting window.
- Click next in the rule check window.
- In the Ready to install window click on Install to start the installation.
- Verify in the Microsoft SQL Server Management Studio if the Report Server and Report ServerTempDB have been created.
After the setup has been completed SRS needs to be configured as described below.
Configuring SQL Reporting Services
Open the Reporting Services Configuration Manager. Select the Web Service URL and click on apply as presented in Figure 1.

Figure 1. Reporting Services Configuration Manager, Web Service URL.
Next select Database, and click on Change database (Figure 2).
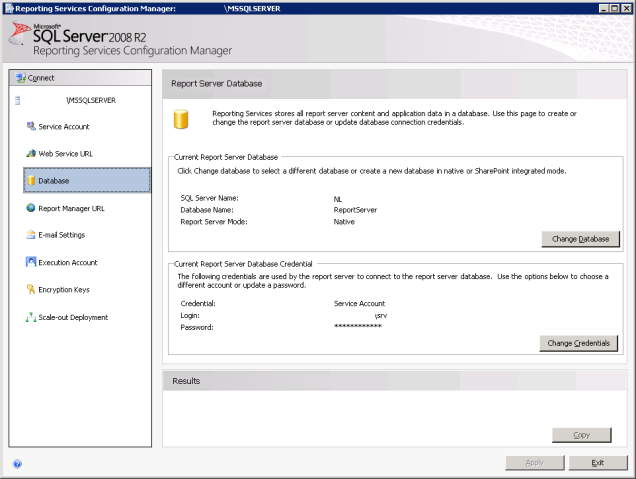
Figure 2. Reporting Services Configuration Manager, Report Server Database.
In the Report Server Database Configuration Wizard window, select Create a new report server database (Figure 3).
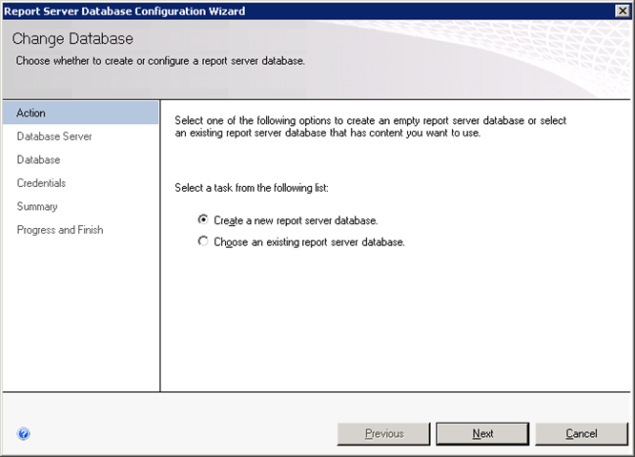
Figure 3. Report Server Database Configuration wizard, create a new report server database.
In the Database Server window, select the database server and make sure that the Authentication Type is correct (Figure 4) click Next.

Figure 4. Report Server Database Configuration wizard, connect to the database server.
In the Database window, fill out the Database Name, check the language, select the proper Report Server Mode (Figure 5) and click Next.
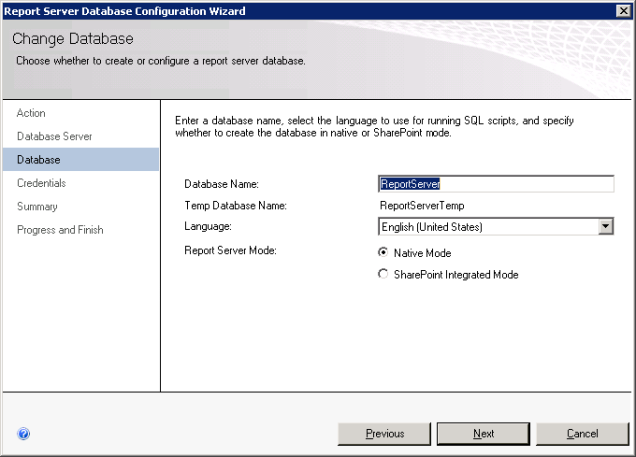
Figure 5. Report Server Database Configuration wizard, enter database name.
In the Credentials window, select the authentication type, fill out the user Name and Password (Figure 6) and click Next.

Figure 6. Report Server Database Configuration wizard, specify credentials.
Verify the configuration (Figure 7) and click Next.
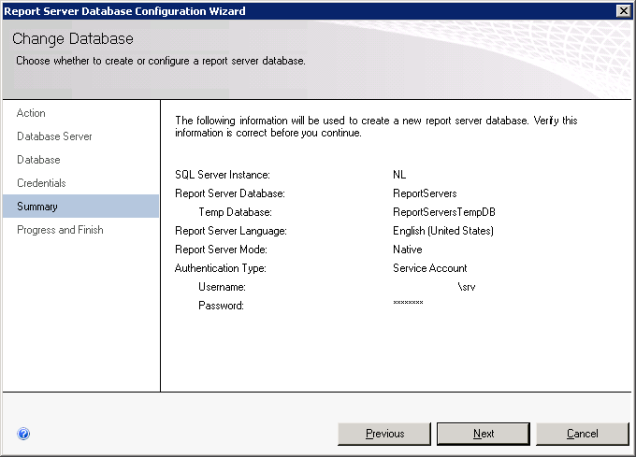
Figure 7. Report Server Database Configuration wizard, summary.
In the Program and Finish window make sure that all items listed in Figure 8 are marked successful click Finish.

Figure 8. Report Server Database Configuration wizard.
Select the Report Manager URL window and click Apply (Figure 9).

Figure 9. Reporting Services Configuration Manager, Report Manager URL.
At this moment, the SQL Reporting installation has been completed. Now we can start the OpsMgr2012 R2 SQL Reporting installation.
Installing Operations Manager Reporting Services
In order to install OpsMgr SRS, first start the OpsMgr 2012R2 installation wizard. Select only the Reporting Server, then click Next (Figure 10).

Figure 10. Operations Manager Setup, select features to install.
Subsequently, choose the correct installation directory (Figure 11) and click Next.

Figure 11. Operations Manager Setup, choose installation path.
If all the prerequisites passed as shown in Figure 12 click Next.

Figure 12. Operations Manager Setup, prerequisites check.
Select I have read, understood, and agree with the license terms (Figure 13).
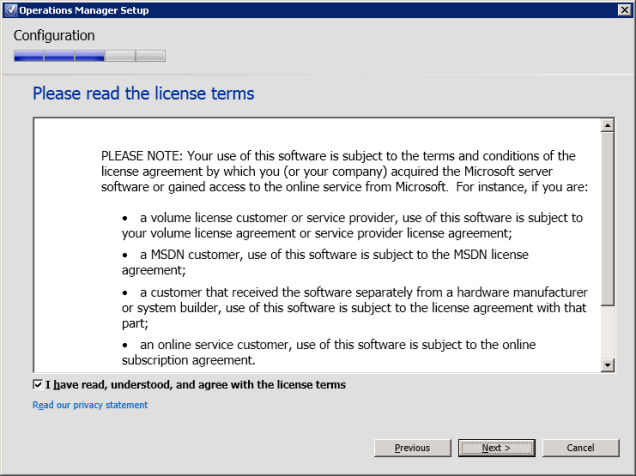
Figure 13. Operations Manager Setup, license terms.
Specify the OpsMgr management server (Figure 14).
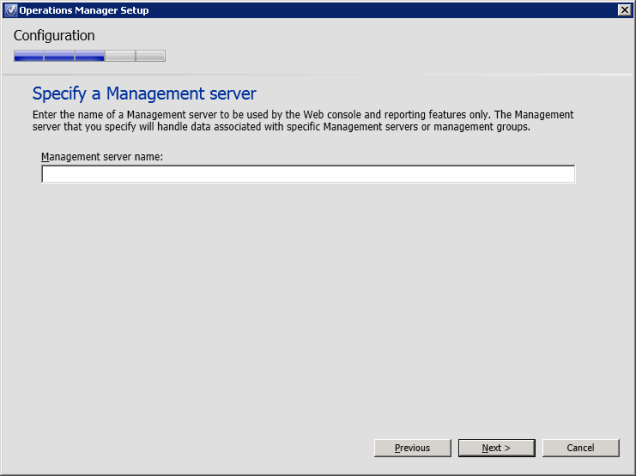
Figure 14. Operations Manager Setup, specify a management server.
Next, select the SQL Server instance for reporting services as demonstrated in Figure 15 and click Next.
*In the present case the Setup Wizard indicated the following message “The installed version of SQL Server could not be verified or is not supported”. Because this message can have several causes, it is wise to search the log file of the installation to further investigate the message. The OpsMgrSetupWizard log file is located in %:\Users\<USERNAME>\AppData\Local\SCOM\LOGS
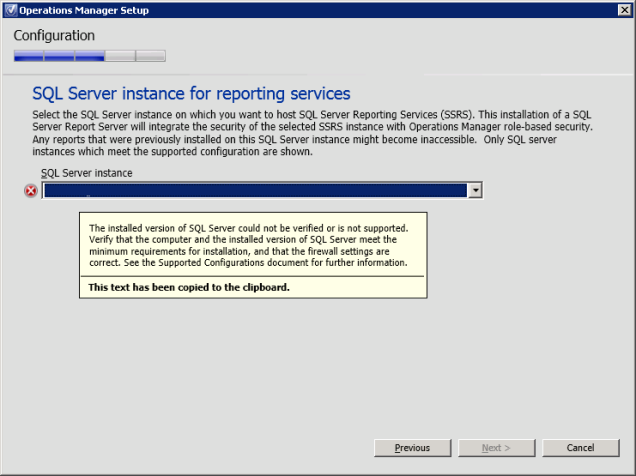
Figure 15. Operations Manager Setup, SQL Server instance for reporting services.
In the present case, the log file revealed that the SRS version is different compared to the SQL version (Figure 16).

Figure 16. Operations Manager setup log file.
In fact, the log file indicates that SRS has version 10.50.1600.1. When running the SELECT @@VERSION query it appears that the SQL Database has version 10.50.2500.0 as shown in Figure 17. Moreover, Figure 17 reveals that SP1 is installed on the SQL Server. For this reason SP1 also needs to be installed for SRS. Once this has been completed, the OpsMgr reporting installation can be continued.

Figure 17. SQL Server Management Studio.
Proceed the installation by clicking Next (Figure 18).
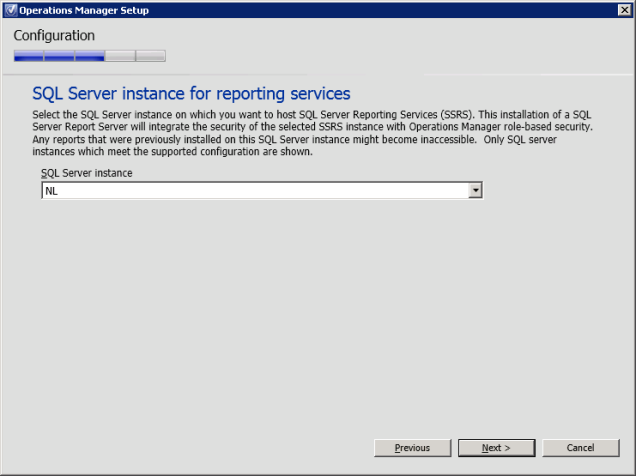
Figure 18. Operations Manager Setup, SQL Server instance for reporting services.
Configure the OpsMgr Data Reader account. This account will be used to deploy reports and needs to be able to run queries against the data warehouse (DWH). In addition, the account will also be used to connect to the Management Server (MS). To continue click Next (Figure 19).
*The specified Data Reader account must have db_datareader rights on the OperationsMangerDW database.
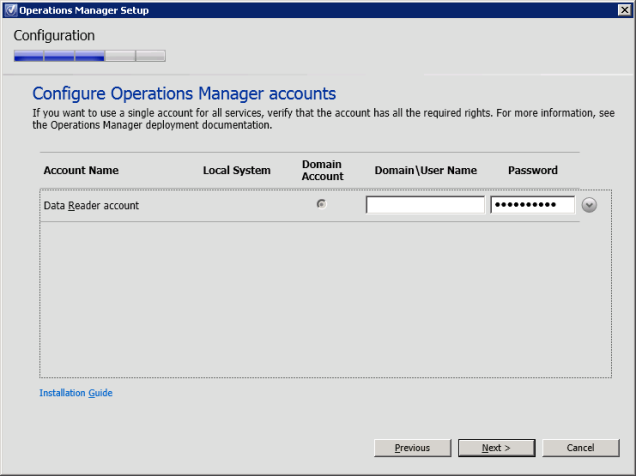
Figure 19. Operations Manager Setup, Configure Operations Manager accounts.
In the customer experience improvement program window select if you are willing to participate in the improvement program or not and click Next (Figure 20).
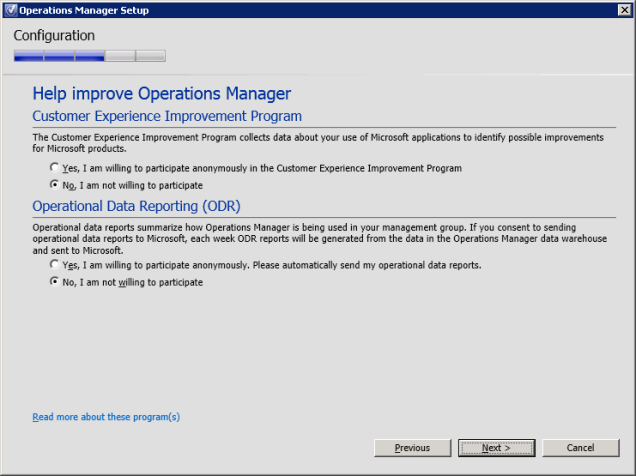
Figure 20. Operations Manager Setup, help improve Operations Manager.
Turn Microsoft update on or off and click on Next (Figure 21).

Figure 21. Operations Manager Setup, Microsoft Update.
Check the installation summary and click Install (Figure 22).

Figure 22. Operations Manager Setup, installation summary.
Make sure the installation has been successfully finished as shown in Figure 23.
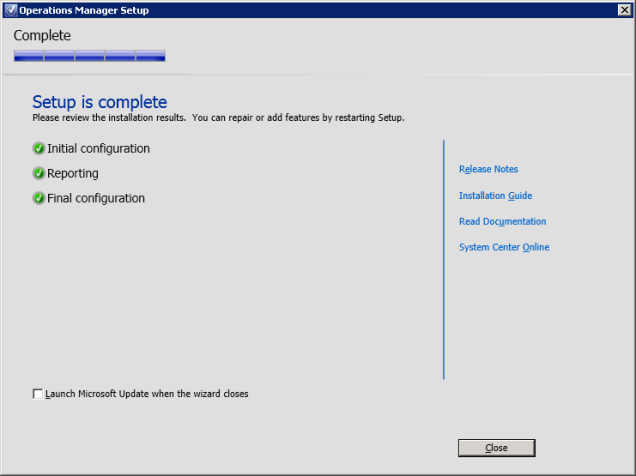
Figure 23. Operations Manager Setup, setup is complete.
*It can take a while before all the reports are shown in the console.
Next, open the OpsMgr console and select the Reporting Pane. A list of available reports is presented here (Figure 24).

Figure 24. Operations Manager Console, reporting pane.
It is now possible to create many different reports within the OpsMgr2012 R2 console or by connecting to the Reporting Services URL. Have fun and create some awesome reports 🙂
 Figure 1. SCOM PowerShell License key error
