Recently Microsoft made it possible to give users an overview in which they can manage their own security information, authentication methods (Security key & MFA), identity and devices etc. This is called the enhanced security info registration experience (figure 1).
Figure 1. Overview of security features from the enhanced security info registration page.
Not enabled by default
The enhanced security info registration experience is not yet enabled by default. When this feature isn’t enabled users will receive a notification such as displayed in figure 2 when they try to access https://myprofile.microsoft.com.
Figure 2. Notification in case the ‘My Profile Experience’ feature isn’t enabled.
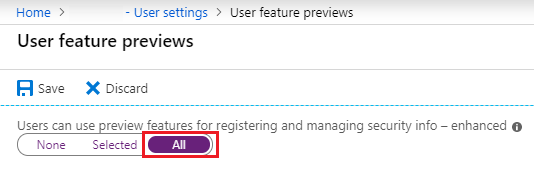
Enable preview features for registering and managing enhanced security info
To give users access to these new security feature page, one must enable this feature in the organization’s tenant.
As indicated in my previous blog post about passwordless sign-in via the Microsoft Authenticator, passwordless sign-in is becoming more and more popular. Using paswordless sign-in it is possible to authenticate with a fingerprint, face recognition or a Universal 2 Factor (U2F) open authentication standard such as the Yubikey FIDO2 (Fast IDentity Online) key, rather than with a username and password.
In this blog post I will describe the functionality and configuration of the Yubikey FIDO2 in combination with Microsoft Azure AD. Using this security key, it is not necessary to remember and use (unnecessarily complex) passwords. The use of passwords is outdated, since even the most complex passwords are vulnerable to phishing. Moreover, people often face difficulties in remembering passwords, which results in the use of weak and easy-to-retrieve passwords. The use of Yubikey FIDO2 is also considered strong because it requires a physical touch.
Passwordless authentication via the Microsoft Authenticator app or Yubikey is not a substitute of Multifactor Authentication (MFA). In addition to passwordless authentication, it is strongly recommended that also a second authentication factor is configured. In the case of a Yubikey, it could be a PIN or fingerprint and in the in the case of the Microsoft Authenticator app, a PIN, fingerprint or face recognition.
Yubikey FIDO2
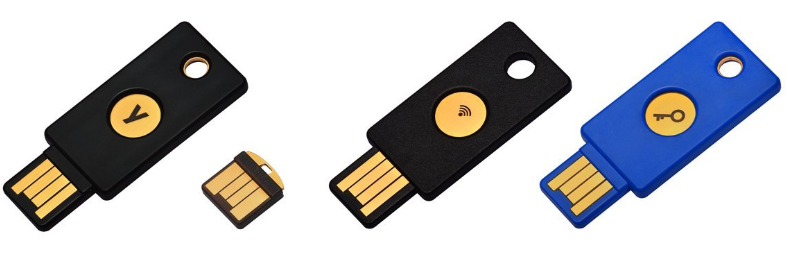
Yubikey FIDO2 keys (figure 1) are hardware-based security keys that use the U2F open authentication standard which is backed by the FIDO Alliance. UF2 originates from the collaboration between Yubico and Google. The UF2 protocol is designed to replace weak and static passwords with strong hardware-backed public/ private key credentials.
Yubikey FIDO2 works with, amongst others, Microsoft Edge, Azure AD joined Windows 10 devices and Microsoft’s online services. In addition, also Google, Twitter, Paypal, Dropbox, Intel, Github and Lastpass use the know-how of FIDO2.
Figure 1. From left to right: Yubikey4, Yubikey 4 Nano, Yubikey NEO and Yubico FIDO2 U2F Security Key.
How does authentication work with the Yubikey FIDO2?
Authentication with Yubikey FIDO2 uses cryptographic public and private keys of which the public keys, together with random numbers, are sent back and forth between the physical key and the authentication server. This whole authentication process takes place in the background without the user being aware of the ongoing process. Depending on the type of FIDO2 key being used, the user only needs to put the FIDO2 key in the USB port and the authentication process is completed with a pin code, fingerprint and/ or just a touch on the FIDO2 key. The power of Yubikey FIDO2 lies in the physical contact that the user has with the key. This way phishing and a MiTM Attack (Man-in-the-middle attack) will be prevented.
“Google has not had any of its 85,000+ employees successfully phished on their work-related accounts since early 2017, when it began requiring all employees to use physical Security Keys”- KrebsonSecurity 2018
Configuration of FIDO2 in Azure AD
Below the steps are described that are required to configure FIDO2 in Azure AD.
Note: At the time of writing, passwordless sign-in for Azure AD is still a preview functionality, which means that the functionality is available for test purposes and proof-of-concept scenarios.
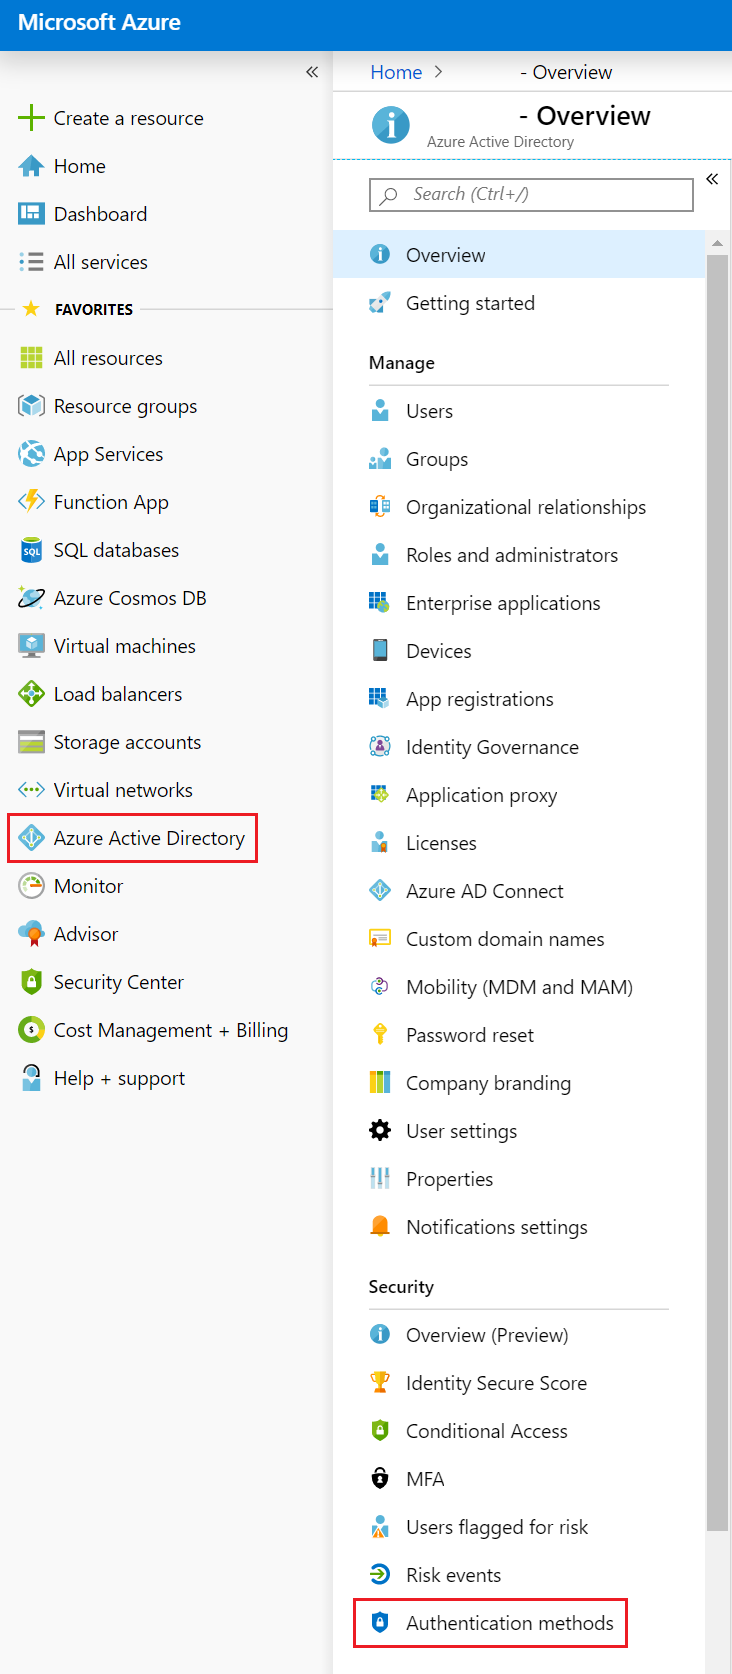
Go to Azure Active Directory -> Authentication methods (figure 2).
Figure 2. Authentication methods in Azure AD.
Click on -> Authentication method policy (Preview).
Select FIDO2 Security Key.
Select Enable -> Yes.
Target -> All users or Select Users.
General
Allow self-service setup -> Yes*.
Enforce attestation -> Yes*.
Key Restriction Policy.
Enforce key restrictions -> No (default).
Hit Save to save the policy (figure 3).
*At the time of writing it is advised to select “Yes” as a default for the configuration of “Allow self-service set up” and “Enforce attestation”. Microsoft plans to include a functionality to allow or block certain FIDO2 security keys based on their GUID.
Figure 3. Configuring passwordless sign-in in Azure AD.
Activate the FIDO2 key
Passwordless sign-in for the FIDO2 keys is now successfully configured and active. Make sure the user has the correct license, such as Enterprise Mobility + Security E3. Next, the security key needs to be activated in the user account. In my case I used the Yubico FIDO2 U2F Security Key with NFC. Keep in mind that the preview features for registering and managing security info – enhanced, must be enabled in the organization’s tenant (Enabling preview features). In order to manage your security info for MFA and self-service password reset (SSPR) in one single portal.
Click on “Add method”, select “Security Key” and click “Add” (figure 4).
Figure 4. Adding the Security key as an authentication method.
In my case I used the FIDO2 key that included the NFC chip. Select “NFC Device” and click on “Next” (figure 5).
Note: In my test case I use a security key that supports NFC, therefore I configure and choose the “NFC Device”, but I will not use NFC functionality in this test.
Figure 5. Select the type of security key.
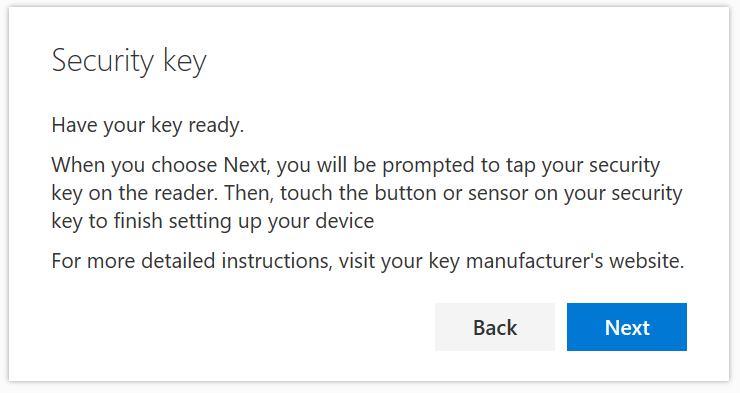
Make sure that the key is ready and click on “Next”.
Figure 6. Security key instructions displayed when configuring FIDO2.
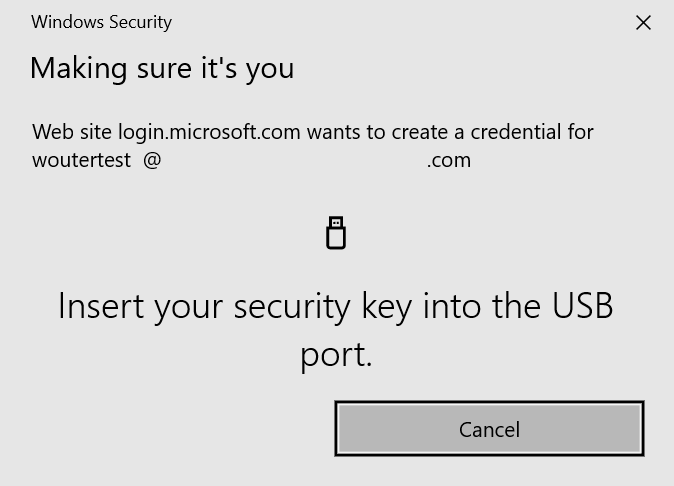
Plug in the FIDO2 key and follow the instructions on the screen (figure 7).
Figure 7. Insert the FIDO2 key to continue the configuration.
Create a PIN for the FIDO2 key and click on “OK” (figure 8).
Figure 8. Create a PIN for your FIDO2 key.
When the FIDO2 key is blinking, press shortly on the FIDO2 key to continue (figure 9).
Figure 9. Take action on your security key.
Give the FIDO2 key a name and click on “Next” to continue (figure 10).
Figure 10. Fill in a name for your security key.
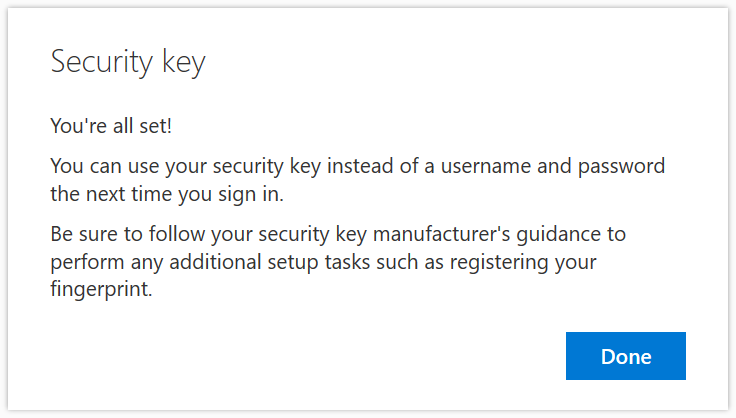
That’s it, the FIDO2 security key has been configured and added to the user account (figure 11).
Figure 11. The configuration of the FIDO2 key for the user is complete.
The figure below presents an overview of the different authentication methods.
Figure 12. Overview of the different sign-in methods in the user’s profile.
Passwordless sign-in User Experience with FIDO2
The configuration of the FIDO2 security key in Azure AD is now completed. In addition, the FIDO2 key is also added as an authentication method to the user’s profile. Now it is time to log into Microsoft’s online services with Yubikey FIDO2 to see what the user experience looks like. Not unimportant, it is also possible to log in to a Windows 10 (version 1809) Azure AD joined device with FIDO2!
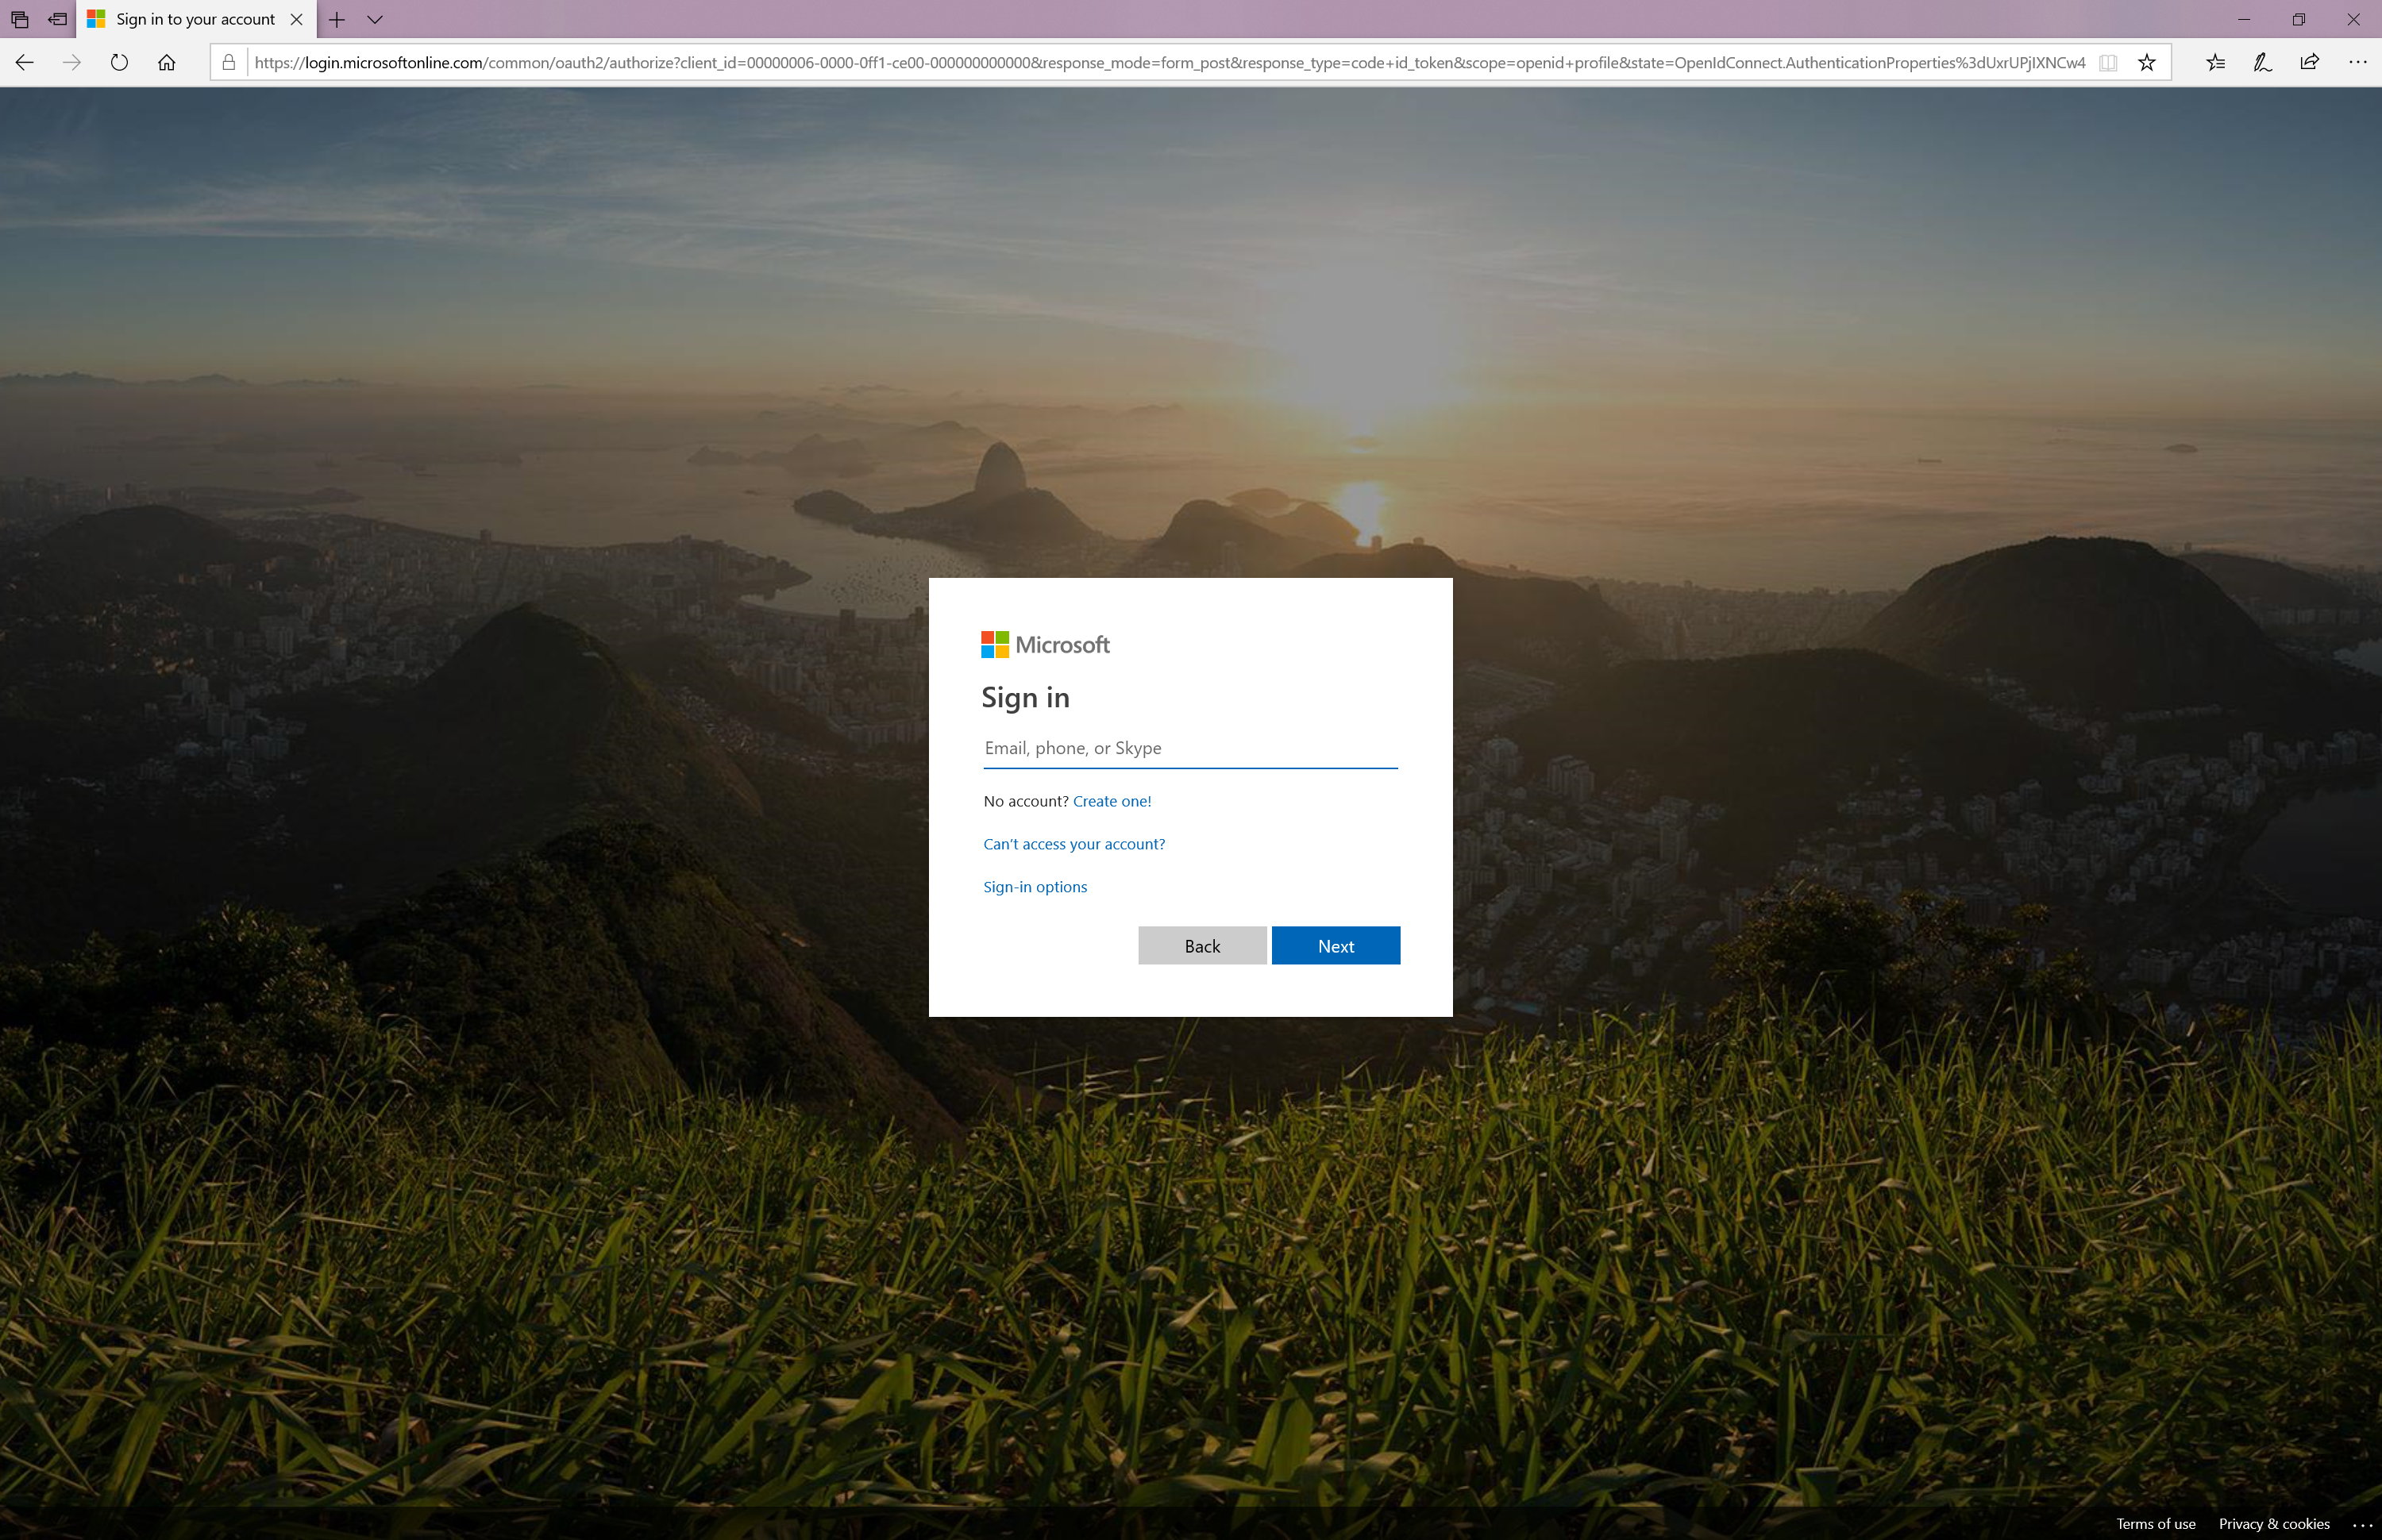
Type in the user account name and click on “Next”.
Instead of typing in the password select “Sign in with Windows Hello or a Security key” (figure 14).
Figure 14. Sign in with Windows Hello or a Security key.
If not already done, insert the Yubico FIDO2 key (figure 15).
Figure 15. Insert your security key into the USB-port.
Enter the security key PIN that was created earlier (figure 16).
Figure 16. Sign in with Windows Hello or a Security key.
The FIDO2 key will now start blinking. Next, touch the FIDO2 key to enable the second (physical) authentication factor to complete the authentication process (figure 17).
Figure 17. An action on the FIDO2 key is required to complete the sign-in process.
Performing the steps above will result in a successful authentication and log in to Microsoft’s Online services (figure 18).
Figure 18. The user is successfully logged into Microsoft’s Online services.
My opinion
More often organizations request complex passwords for their employees. However, one could argue whether this solves any problem. Complex passwords do not help users to protect their identity in case of a phishing or a MiTM attack.
I strongly believe that the user identity is the new security and that one needs to be careful with this, especially in a world where employees have access to company data, from any device and any location. Employees are no longer limited to the corporate network to perform their work. Therefore, it is very important that they can work in a safe manner, regardless of whether they are connected to an unsafe (WiFi) network or not. The use of a Yubikey FIDO2 contributes to the safety of a user’s identity, as the user does not have to remember and use a difficult password and/ or renew the password every so often. The Yubikey FIDO2 is easy to configure and, above all, very safe to use!
Multifactor Authentication (MFA) can be used to make login more secure. In addition to MFA, passwordless sign-in becomes increasingly popular lately. Using passwordless sign-in, a password is not required at the time of logging into, for example, the Microsoft Online services. Passwordless sign-in ensures that the password is replaced by notifications that are received and approved via a mobile phone or by using FIDO2 keys. It is therefore not necessary to remember passwords and the use of passwordless sign-in makes logging in very easy and above all more secure.
Recently, the Microsoft authenticator app has been expanded with the passwordless sign-in functionality. This means that during the process of logging in, a push notification appears on the phone showing several numbers. The user must then select the correct number displayed on the phone which corresponds to the number presented on the login screen.
In this blog I describe the configuration of passwordless sign-in via the Microsoft Authenticator app in Azure AD and the associated user experience.
In the past it was only possible to activate passwordless sign-in via PowerShell. However, from the beginning of August 2019 it is also possible to do this via the Azure portal. Both options are described in this blog post.
Note: At the time of writing, passwordless sign-in for Azure AD is still a preview functionality, which means that the functionality is available for test purposes and proof-of-concept scenarios.
Prerequisites
Prior to starting the passwordless sign-in via the Microsoft Authenticator app in Azure AD, the following steps should be taken:
Install the latest version of the Microsoft Authenticator app on a phone. At the time of writing, this is version 6.3.13. When using an iOS device, it should be made sure that the iOS device is at least on iOS 8.0 and Android devices the version to be used should be at least 6.0.
The Microsoft Authenticator push notifications must be enabled.
The phone must be registered in Azure Active Directory (Azure AD).
The user must have the correct license, such as Enterprise Mobility + Security E3.
Method 1:Activate passwordless sign-in via PowerShell
The steps to activate passwordless sign-in via PowerShell include the following:
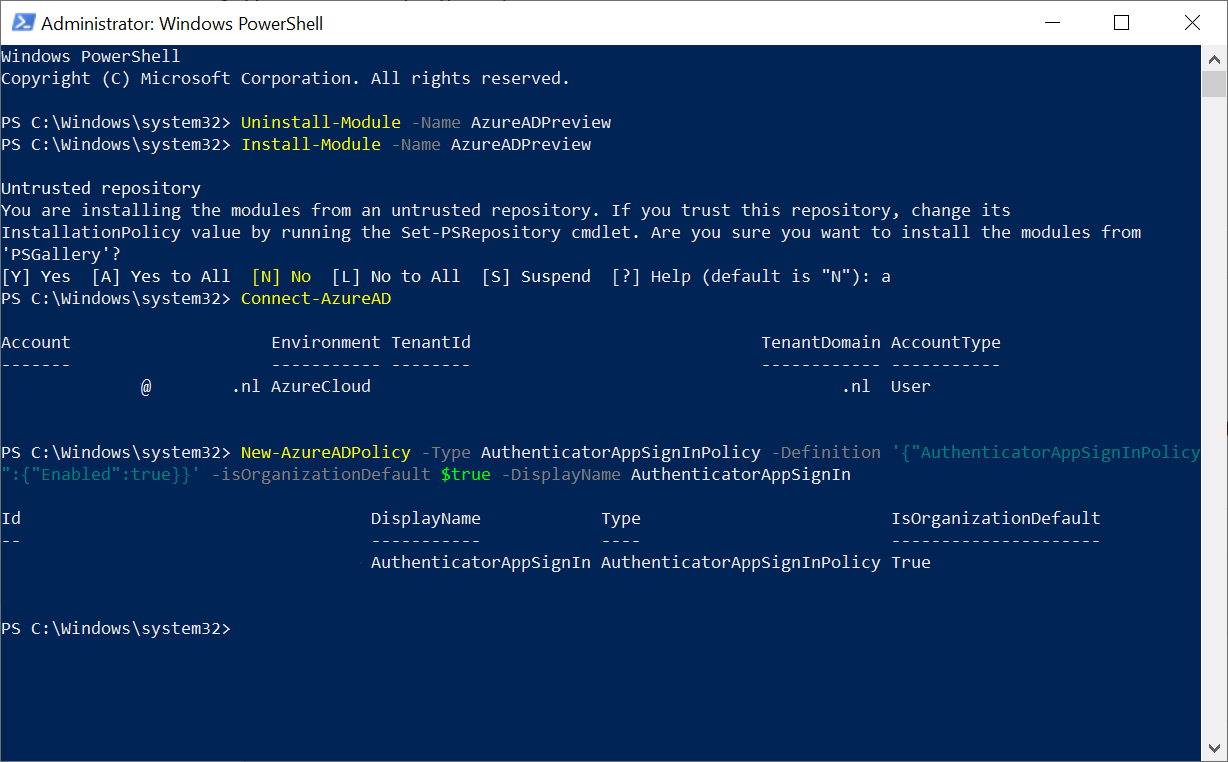
Start PowerShell as an administrator.
Install the AzureADPreview module: “Install-Module -Name AzureADPreview”
Connect to Azure AD and login in with a global admin account: “Connect -AzureAD”
After authentication run “New-AzureADPolicy -Type AuthenticatorAppSignInPolicy -Definition ‘{“AuthenticatorAppSignInPolicy”:{“Enabled”:true}}’ -isOrganizationDefault $true -DisplayName AuthenticatorAppSignIn” as shown in figure 1.
Figure 1. Output of enabling passwordless sign-in via PowerShell.
Method 2:Activate passwordless sign-in via the Azure Portal
The steps to activate passwordless sign-in via the Azure Portal include the following:
Type in the user account name and click on “Next”.
Instead of asking to enter a password, a code will appear (figure 8).
Figure 8. Notification for authentication when using passwordless sign-in.
At this time, the Authenticator app will also give a notification with the same code, please see figure 9. When the correct code is selected, the authentication process will be continued, and the user is logged in.
Figure 9. Notification in the Authenticator app, when using passwordless sign-in.
That’s all! Now the passwordless sign-in can be used in combination with the Microsoft Authenticator app. In my next blog I will describe the configuration and use of FIDO2 Keys. -> Passwordless Sign-In Azure AD with FIDO2